

The cost to refinish 1,000 sq ft of hardwood floors depends on far more than area. Species, construction, remaining wear layer, finish, stains, board damage, edge conditions, room geometry, stairs, access, dust controls, occupied-home logistics, and the desired new coating can all change the work. A posted unit price cannot inspect the floor in front of you.
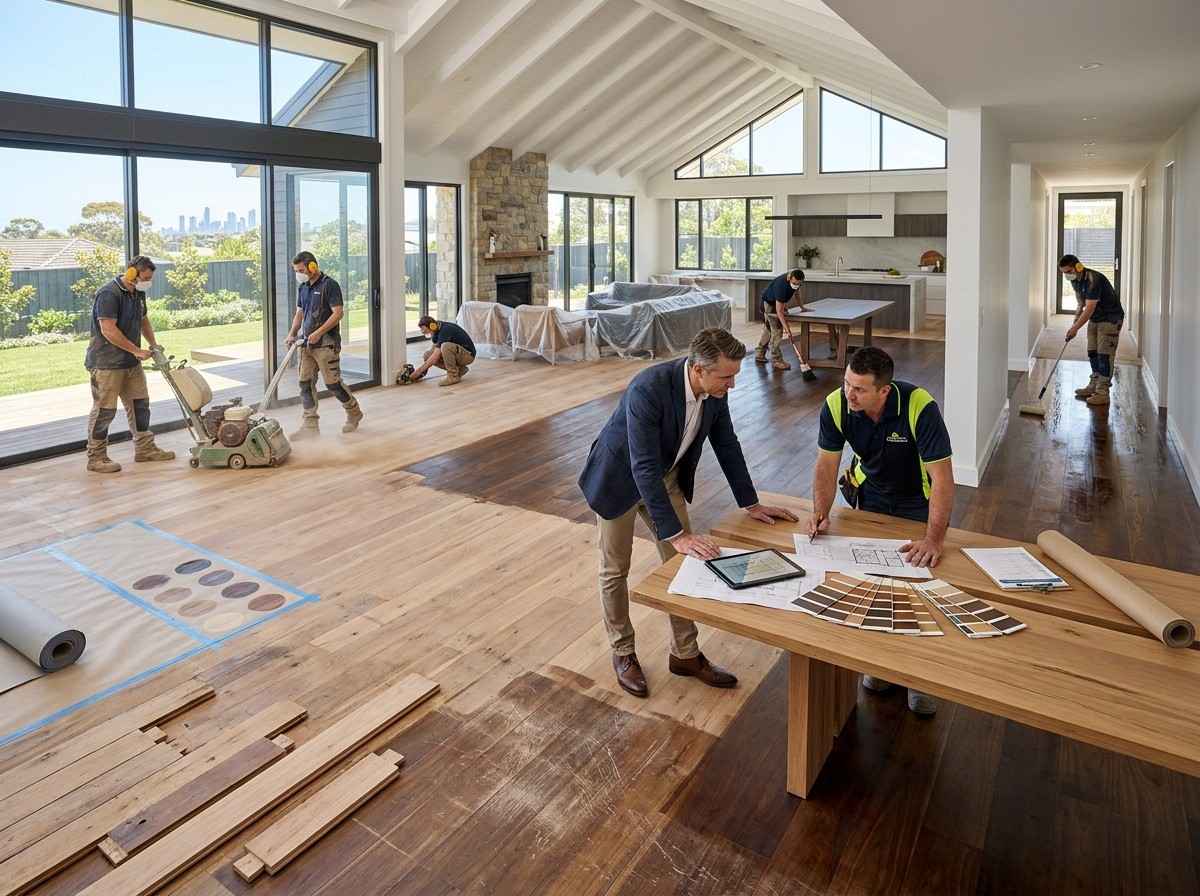
Treat one thousand square feet as a quantity to verify, not a complete scope. Measure included rooms and closets, identify transitions, and document anything that needs removal, repair, protection, or separate finishing. Then request proposals against the same existing-condition record and acceptance standard. Comparable information is what makes a price useful.
Confirm that the floor can be refinished
Identify whether the material is solid wood, engineered wood, factory-finished product, laminate, or another surface. Record species if known, board dimensions, installation method, prior sanding, bevels, wear-layer information, and manufacturer documentation. Some products have limited or no sanding capacity, and aggressive work can expose fasteners or damage a thin veneer.
A Bellevue remodeling team can coordinate floor assessment with adjacent construction. If walls, cabinets, stairs, or built-ins are also changing, decide when the floor becomes accessible and how new elevations meet it. Do not price refinishing independently from work that may cut, patch, cover, or expose additional areas.
Map damage instead of averaging it away
Create a room plan showing deep scratches, pet stains, water marks, cupping, gaps, loose boards, squeaks, filler failure, sun fading, missing pieces, and incompatible patches. Note whether the condition is cosmetic, structural, or related to active moisture. Sanding changes the surface; it does not solve a leak or stabilize a moving substrate.
Use the flooring options guide to compare repair, refinishing, partial replacement, and new flooring where conditions vary. Ask what appearance can reasonably be achieved across old and new boards. Sample repairs and stain tests may be necessary before the team can define an acceptable result.
Verify the actual refinishing area
Measure finished floor surfaces and list exclusions such as fixed cabinets, islands, closets, landings, or rooms under another contract. Identify base, shoe molding, thresholds, floor registers, doors, appliances, toilets, radiators, and furniture that affect access. Stairs, borders, inlays, tight corners, and hand-worked edges should be described separately from open field area.
Clarify who empties rooms, disconnects equipment, removes trim, handles fragile items, provides temporary storage, and reinstalls components. A seemingly similar area can require a different amount of labor when the home remains occupied or access is limited. Record the working hours and path for equipment and waste.
Choose the surface and finish process together
Specify whether the goal is a maintenance coat, full sanding, stain change, natural appearance, or repair blend. Review the sanding sequence, filler strategy, sample area, stain, sealer, finish chemistry, sheen, coat count, abrasion between coats, cure conditions, and manufacturer requirements. Confirm compatibility with any remaining prior finish.
Color expectations should account for species variation, age, repaired boards, edge sanding, and different light. Approve a representative sample large enough to show grain and variation. If a uniform dark stain is expected to conceal damage or mismatched material, discuss the limits before committing the full floor.
Plan dust, air, and occupant protection
Define containment, equipment, ventilation, return-air protection, cleaning, and verification. Ask what “dustless” means operationally; collection equipment can reduce airborne material without promising an absence of dust. Review product safety information, ignition risks, odor, drying, and reentry requirements with the selected finish system.
For older homes, EPA’s lead-safe renovation guidance explains why disturbing pre-1978 painted surfaces can create hazardous dust and why certified practices may apply. Floor work may also disturb painted base, trim, or thresholds. Determine applicability and testing or control needs before sanding begins.
Coordinate sequence, protection, and cure
Complete work that creates impact, moisture, or heavy dust before exposing the renewed floor where practical. Coordinate wall painting, cabinets, trim, appliance movement, and final touchups with the finish manufacturer’s cure information. Dry-to-touch, light foot traffic, furniture replacement, rugs, and full cure may be different milestones.
The floor and wall sequencing guide helps frame those dependencies. Specify breathable protection compatible with the coating and assign responsibility for inspection. Trapped moisture, sliding covers, tape, grit, or premature loads can damage a newly finished surface.
Compare complete floor proposals
Require each proposal to state measured area, included spaces, repairs, removal and reinstatement, sanding limits, edge work, samples, stain and finish products, coat system, dust controls, ventilation, access, schedule assumptions, protection, cleanup, exclusions, and acceptance. Ask how discoveries will be documented and priced before extra work proceeds.
Submit the floor plan, condition photos, material information, occupancy constraints, and related remodel scope through a floor and remodeling estimate request. A site review may be needed before the team can determine the appropriate treatment.
At completion, inspect the floor in normal room lighting after the specified cure stage. Review repaired areas, edges, transitions, sheen, debris, doors, vents, trim, and care instructions. The dependable cost is the price attached to this documented process—not a generic square-foot figure detached from the floor’s condition. Retain the accepted sample, finish product and batch information, room measurements, repair map, photographs, and cure instructions. That closeout record gives maintenance decisions a known starting point and makes any later service conversation more precise.